World War III is closing in and it’s just a matter of time before we have to start hamstering. In our latest article we look at how you can prepare yourself by making your own vaccine.
There’s no doubt that a third world war is coming and we’ve done our best to prepare you for such an occasion. Electronic equipment will be disrupted by the magnetic radiation caused by the rain of atomic bombs and because of that scientists have been working on creating ways to store data in bacteria and also use them as batteries. Bacteria have a spooky ability to survive almost anything, making than excellent target for survival research.
We thought we would present another thing that will make it easier to survive during a nuclear war. The fact is that the best you can do is start right away. We will namely show you how to build your vaccine. The method makes it possible to build many kinds of vaccines for viruses and different kinds of bacteria.
We’ve angled the manufacturing so that you should be able to do it in your own home. You’ll just have to make sure to work in a somewhat sterile environment, or at least clean.
On the following pages we will present a study for how you could manufacture your own vaccines, but if you feel there’s anything that could be changed doesn’t hesitate to clean up the protocol.
I should start by explaining a bit how your cells, DNA and proteins are connected to each other.
All cells have proteins on their surfaces. Different cells have different proteins. Through the years of evolution viruses and bacteria have learned that there are certain proteins on our cells and binds to these to enter our cells, and while inside divide, flourish and hurt us. Not all bacteria enter our cells tough, very few in fact, most of them thrive just being among the cells.
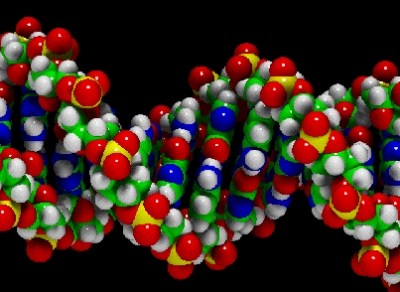
DNA
The proteins in our body are created from a small and very part of our DNA. The DNA isn’t directly decoded into proteins, but has to go via RNA, which is a mirror of DNA. The problem is that we can’t use the information the DNA carries because it also contains a bunch of junk that has to be cut out and we can’t do that synthetically. We’re forced to let the cells do this for us and the easiest way to do this is to extract the RNA instead, simply because the junk has been removed by then.
We will use this in our study by extracting the corresponding RNA for the protein we know that our virus binds to and fuse it with another piece of DNA that codes for a different protein. This second protein will be a part of an antibody. Antibodies are part of our immune system.
We will thus build an entirely new protein that the virus will bind to instead and then our immune system will remove the virus from the body.
You’re certainly wondering how to find the right protein, or part of protein, to fuse with an antibody to protect yourself. It’s not that hard to find out actually. VirusTaxonomyonline.comcontains virtually everything you need to know about viruses, while Houston Medical School has a taxonomy of bacteria. On the other hand you will need access to these even after the bombs have started dropping, which manes that it might be a good idea to start feeding the printer with paper and start printing like there’s no tomorrow, because maybe there isn’t.
Even if you find the right protein you have to extract it from the abundant amount of DNA and RNA which are found inside of the cell and this can be done through a few simple steps and PCR (Polymerase Chain Reaction). This makes it possible to multiply the piece of DNA you want. Those who wants to know more about this and how to construct the primers needed for PCR can take a look at an article by Andersson, Bernander and Nilsson; Dual-genome primer design for construction of DNA microarrays. The article covers an alternative approach to primers manufacturing, but then it’s faster and more efficient.
Sequences for DNA and proteins can be found at PDB.org, Swissprot and NCBI.
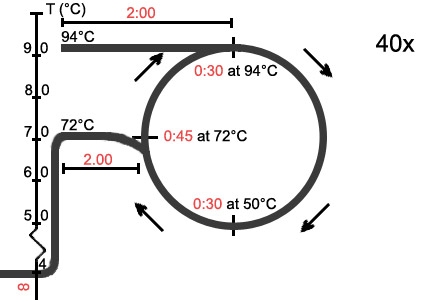
An example of how PCR works
On the next page we will do some preparations.
This is a relatively short process that can be done on in a mere three days, possibly a fourth if have to analyze your results… but before you do it’s always a good idea to prepare some solutions and make them kind of sterile.
You will need some chemicals and solutions, but none of these are especially dangerous so a pair of vinyl gloves (you may already have some for you kinkier needs) should be enough. The stove fan should be able to double as a LAF (Laminar Air-Flow) workplace where you can move and handle bacteria.
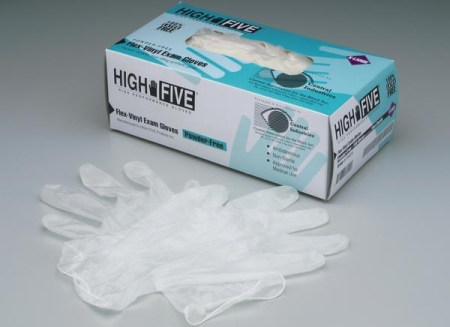
Vinyl gloves from High Five
The first thing we need is a phosphate buffer. You’ll need about 1,5 liters. Start by boiling 1,5 liters of water and add about 1,5 gram dihydrogen phosphoric acid (H
PO4–) and 1,5 gram hydrogen phosphoric acid (HPO42–) and about 13g of salt (NaCl). Or you order a ready solution from Sigma-Aldrich: P5368. Costs a little more, but there’s less work to it.
You also need to prepare some broth for your bacteria and you will need some antibiotics to go with that. This could be a bit tricky to get a hold of without having to turn to a company without a permit to use it, so good luck with that. Considering we will be working in a far from sterile environment we highly recommend that you hunt down some ampicillin, tetracycline and kanamycin. The first bacteria we will use are resistant to tetracycline and the second to kanamycin. All cells that have a vector (more about this later on) will be resistant to ampicillin. It’s incredibly important not to mix these up, because then you will kill you bacteria instead of protecting them against contaminations.
You need to make some LB (Lysogene Broth) medium for bacteria cultivation. LB medium consists of tryptone, yeast extract and salt all mixed in water. Tryptone can be purchased from a number of manufacturers, same applies to yeast extract. A 1 liter solution should be enough; 10g tryptone, 5g yeast extract and 10g sodium chloride. Boil to sterilize … or buy from Sigma; L2542.
You also need some calcium chloride to treat the cells. A solution of 250ml CaCl2 should be enough. Dissolve 2,75g in 250ml water and boil. Store cold, preferably in the fridge on ice. The next problem is getting a hold of 50ml blood. We’re not even going to discuss that.
Before we move on to the study there’s one more thing that has to be solved, the centrifugation. Not everyone has a centrifuge capable of forces close to 10,000g, but we have a solution for you. Many of you probably have a washer or a dryer somewhere close by. Simple push it over and mount an arm with a container to the rotating drum. That should enough to create enough force. Swedish comedian Robert Gustafsson made a classic beer commercial where he did something similar: (jump ahead to part 3 at ~1 min); YouTube.
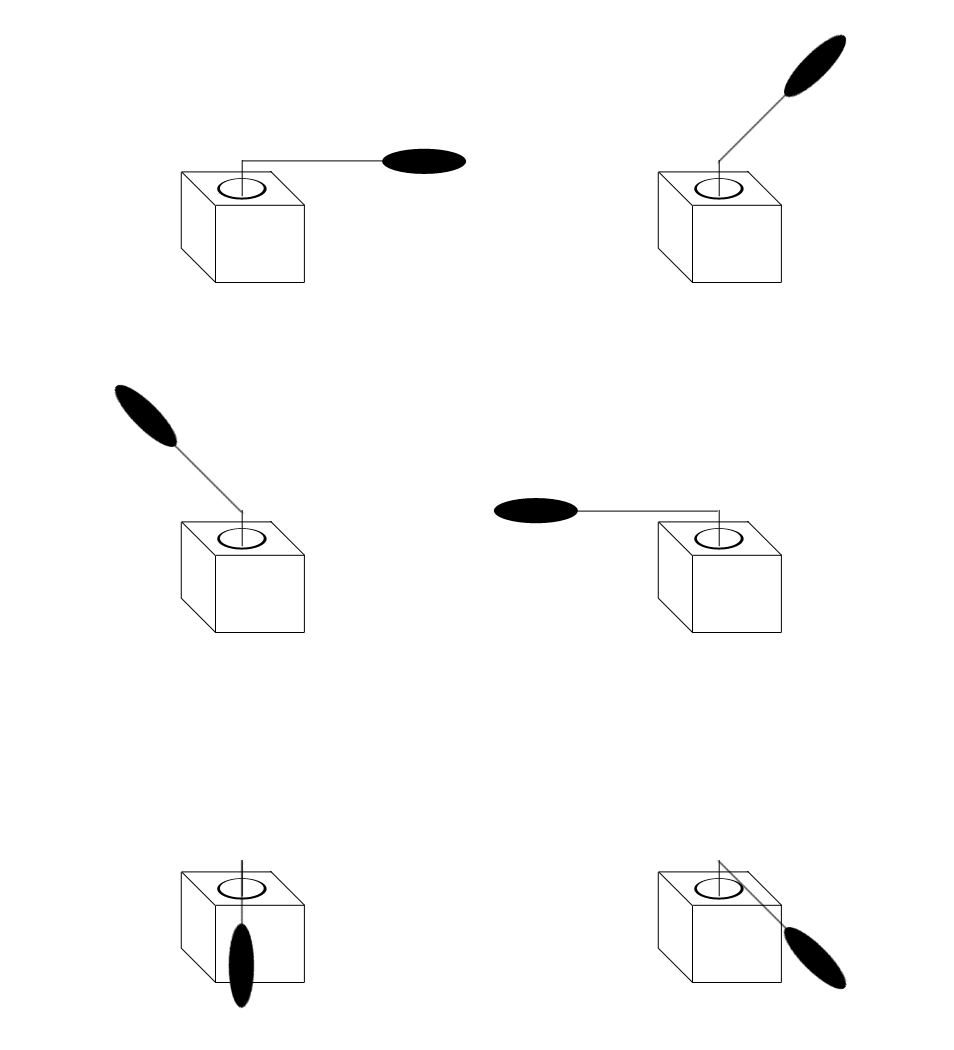
Washing machine centrifuge in action
On the first day you have to prepare the cells that you are going to extract the RNA from. We will be using a series of kits and will use the supplied manuals. We will not be showing the protocols here.
We start by extracting the right cells from the blood. This is done through a Ficoll-Paque separation; you can get this from GE HealthCare. The instructions come with the package and can be found online here. Now you have to count your cells but there’s no way to do this in your own home so we’re just going to skip ahead. Next we will extract the RNA, the mirror of DNA without the crap, from these cells and we will use GenElute from Sigma; RTN10.
Let’s move on to the bacteria. There are people who’ve spent a lifetime breeding and cultivating species of bacteria and we will take advantage of this now. Novagen has two kinds of E. coli we will be using. E.coli is that gorgeous bacteria that causes tons of urinal infections. The first kind we will use is called Nova Blue and is good at copying DNA.
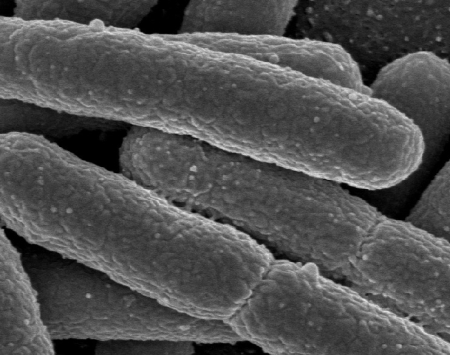
Close-up of E. coli (Rocky Mountain Laboratories, NIAID, NIH)
Take 40ml LB medium and add 40µg tetracycline. This could be picky to weigh in. Add bacteria and let them grow until the solution becomes muddy.
In the meantime we can continue working with our RNA. The Superscript II from Invitrogen let’s us convert our RNA to DNA again and then we have the DNA, without the junk. The problem is that we need to do some PCR now and for tat we need some primers and a PCR machine. Exactly how you’re going to do this we have no idea and you’ll have to solve this for yourself.
When the bacteria become muddy you use your new washing machine centrifuge and fling them around at 5,000g for 10 minutes. Remove the top liquid and try to dissolve the pellet at the bottom with some milliliters of ice-cold calcium chloride. Do the centrifugation once more, remove the top liquid and resuspend once more. Store on ice.
Take your PCR product and wash it using the Geneclean II from Bio 101.The protocol is available online. Now it’s tome to transfer your DNA into you bacteria, but first we have to instert the DNA into a vector, which also contains some other miscellaneous information. We will be using the pET32a(+)from Novagen in this study since it offers not only tons of cleaving points, but also some decent purification opportunities.
Parallel to extracting the T cells earlier you should also have extracted B cells and treated them in the same way. You then cleave the two DNA strands using enzymes from Fermentas. NcoI and SalI for the DNA from T cells. HindIII and SalI for DNA from B cells. Wash it once again using the Geneclean kit from Bio 101.
First you need to open up the vector with HindIII and SalI enzymes and then fuse your two DNA strands with your vector. Start by mixing the DNA from the B cells and the vector with DNA ligas from Fermentas. Incubate for an hour or so at room temperature. Wash your vector with some of the solutions from the Wizard miniprep from Promega. Then mix your vector with the NcoI and SalI enzymes, and your T cell DNA.
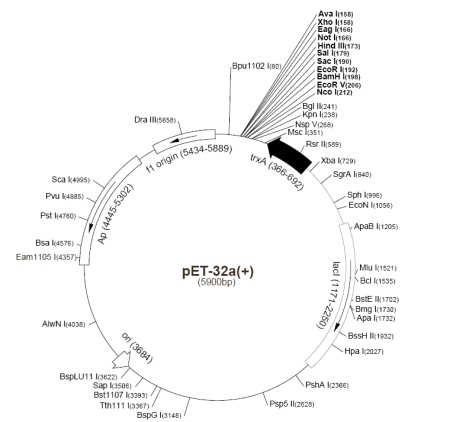
Our vector: pET-32a(+), click to enlarge
Bring out the E. coli you put on ice earlier and add 0,2ml of that to your vector mixture. Put it on ice for 20 minutes and then at 42°C/108°F for 45 seconds. Add 0,4ml LB medium and leave it there for an hour or so. Next we should check that the bacteria have indeed picked up the vector, but we” have to skip that in lack of time and the invading Finnish troops. Leave to multiply over night at room temperature.
Before logging out you should prepare the next kind of bacteria. This type is good at multiplying vectors, but poor at expressing proteins, which is what we want in the end, but for that to work we need a lot of vectors (E. coli Bl21trx is good at this). Prepare a tube or a container with 5ml LB medium with kanamycin 12µg/ml and add your bacteria. Treat these the same way you treated your Nova Blue bacteria.
On the next day you will purify your vector through the Wizard miniprep once more and then transfer the vector to your new bacteria in the same way as presented earlier. Incubate over night.
Move the bacteria to a larger container with 200ml LB medium with both ampicillin and kanamycin. Estimate the muddiness of the mix until muddy enough and then add some IPTG (good luck finding that during a nuclear war). This will force the bacteria into a mode where they will be making your protein like they have never done anything but that.
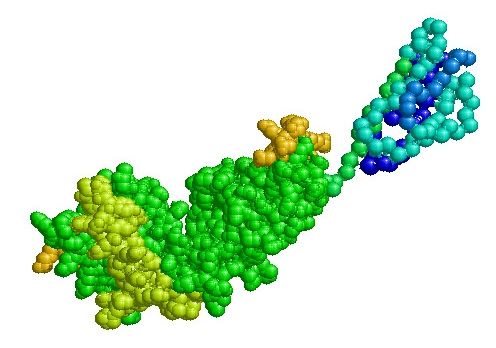
A fusion protein to fight Rhinovirus (major group)
Well now you have your protein and how to purify it from your mix of bacteria and bacterial proteins is totally up to you. There are many ways to this. The washing machine centrifuge is one way, but you will probably end up with a bunch of different proteins of the approximately same size. Chromatography is probably the best approach, but where you will find the appropriate gel and chemicals in the middle of the third world war is a bit hard to picture. Good luck!


