I’ve put together a guide for how to go about making an etching, and to show you it’s not as hard as it might look. It’s a lot of work though, and requires a steady hand.
But don’t let that turn you off! A beautiful etching can certainly bring a plain piece of plexiglass to life.
Plexiglass is something that’s starting to become more and more prevalent in computers, and sometimes just a plain plexiglass can feel a bit boring. There are many ways spice plexiglass up a little, etching being one of them. If you’re interested in case-modding and similar projects, you’ve probably already seen several different etchings.
I’ve put together a guide for how to go about making an etching, and to show you it’s not as hard as it might look. It’s a lot of work though, and requires a steady hand.
But don’t let that turn you off! A beautiful etching can certainly bring a plain piece of plexiglass to life.
Let’s get started with the guide!
There are hundreds of tools one might need when making an etching. But I’m going to limit myself to just a few of them.
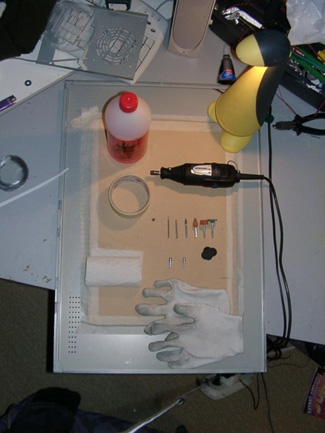
The following is a list of that which might be required:
- Dremel MultiPro or equivalent.
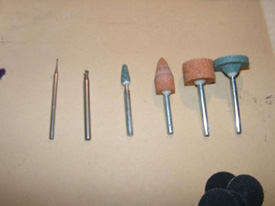
- Etching-bit, 0.8 mm. No. 111, 105 or 108. I’m using no.
108. - Grindstone. There are a number of different stones for Dremel, but preferably use as small as possible.
- Rubbing-alcohol.
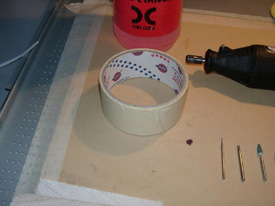
- Masking-tape.
- Paper-towels or cotton-swabs.
- Plexiglass. Thickness is less important. I usually stick to 3, 5 and 8 mm.
- A motif.
- Proper lighting over workspace.
The following might come in handy, but is not required:
- Sandpaper. For “shadowing” certain parts.
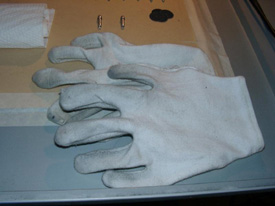
- Gloves. To avoid making fingerprints while working.
- Fluorescent lamp, color of choice. To more easily see how you’re etching.
- Pens, for marking and coloring.
- Protective eyewear. Not that there’s usually any danger, but just in case.
|
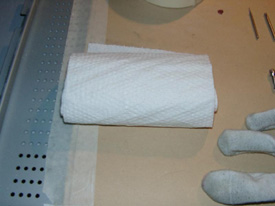
Paper-towels
|
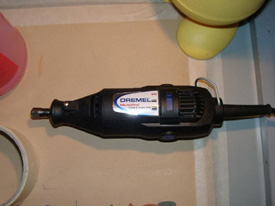
Dremel MultiPro
|
|
Masking-tape
|
Gloves
|
|
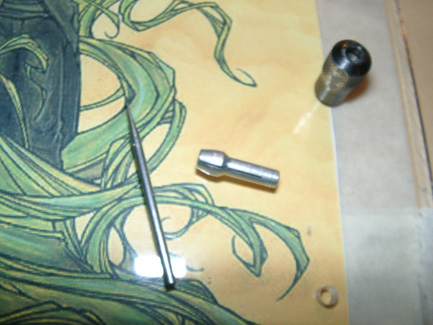
Etching-bit and grindstone
|
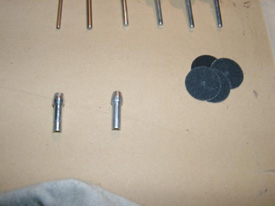
Mandrels and sandpaper
|
|
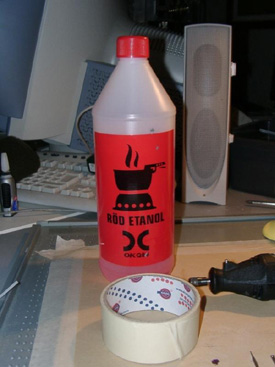
Red Ethanol
|
Plexiglass
|
Next to the tools, lighting is the most important. Etchings can
cast shadows, making it hard to discern how to etch. Use plenty of lights from different angles to avoid shadows.
The first thing you should do is to pick a comfortable and “open” space. See to it that the electric socket isn’t too far away because you want to be able to operate your Dremel freely without being limited by the electric cord. You should also make sure that you have all the tools you need nearby so you don’t have to go look for them in the middle of the engraving procedure.
We can now start preparing the engraving. It is important to have a large and empty space to work in. There will be a lot of chips from the plexiglas so it’s easier to vacuum if you work in an open area.
One should always start by cleaning the plexiglas with ethanol. The reason for doing this is that the chips may cast shadows and complicate the engraving procedure. It isn’t vital but it may make things a lot easier. Do remember that some types of acrylic plastic (plexiglas) cannot be cleaned with ethanol.
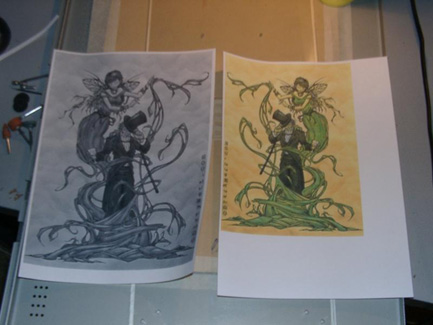
After that you get to choose a motif. I usually draw my own but in this case I use a picture that is already done. One important thing to remember is to reverse the image since you have to engrave it reversed. I printed two images, one for the engraving and one to have as a “landmark”. Another way is to draw the picture directly upon the plexiglas. Remember to use a permanent marker or something similar that really sticks.
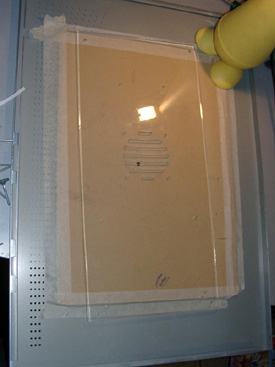
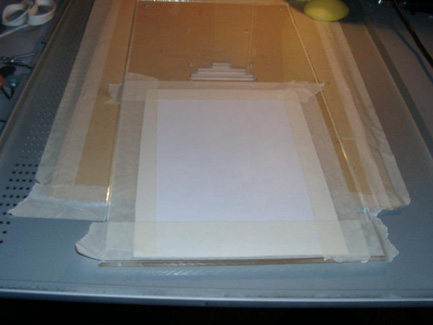
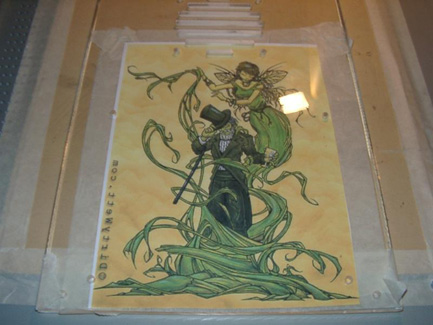
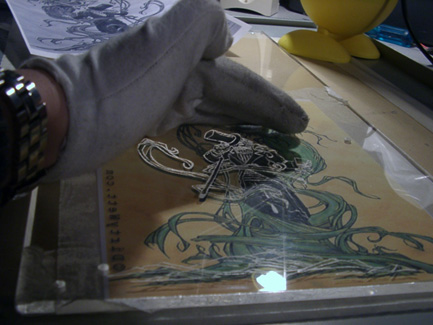
Then attach the motif on top of the plexiglas. You should preferably engrave on the back, it usually turns out better. Use a lot of tape so the image is attached firmly. It is important that the motif doesn’t move during the engraving. Avoid removing the motif when engraving, if you for example want to see how far you have reached.
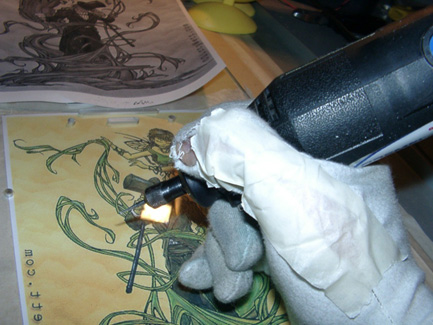
When all preparations are finished it’s time to start with the engraving. Always start with the contours of the image, preferably with some small engraving tool. To do this I use a 0,8 mm engraving tack. Although the contours often are the hard part you should be careful when engraving them.
One should remember to take it easy and not rush it. You can count on spending quite a few hours, so take a break now and then. It’s very frustrating for both wrist and neck to etch.
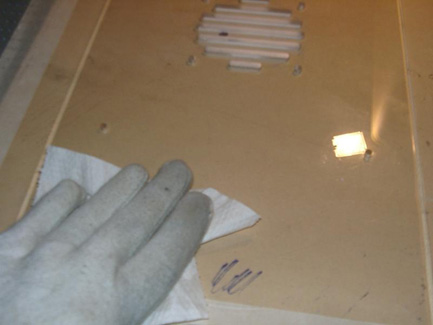
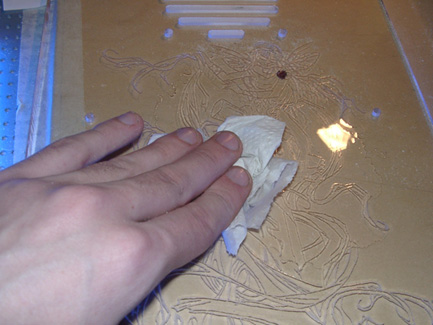
Keep in mind that you have to keep the surface clean all the time. Take a pice of paper and wipe the dust off now and then.
There are many different ways of holding a Dremel. I’ve heard about people who use both hands for example. I prefer to hold it similar to how you hold a pen.
Test out what position feels best for you. The most important thing is to have a steady grip so the Dremel doesn’t slip because that’s something you really have to avoid.
One should always try to look straight down when engraving because of the elevation difference between the plexiglas and the motif. If one doesn’t do that some pieces of the engraving may become distorted. In the beginning it may seem difficult but after awhile it becomes easier.
Another thing to remember is to not run the Dremel at full speed. I usually engrave at approximately
15000 rpm. At these speeds it’s easier to control the Dremel. As I mentioned earlier it’s best if you don’t slip with the Dremel.
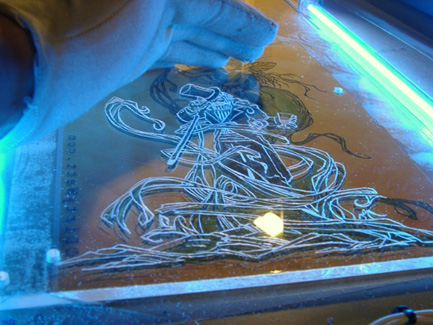
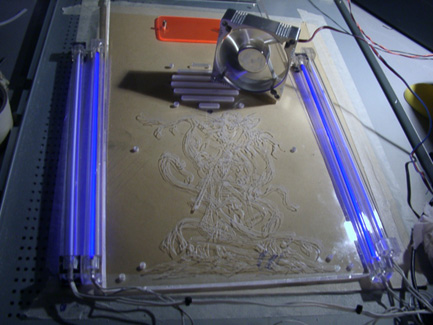
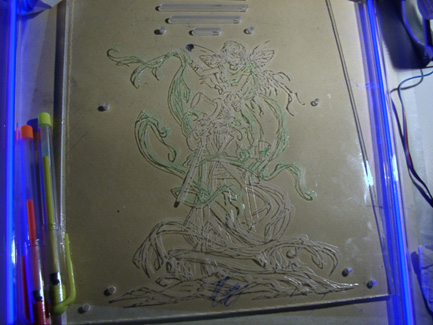
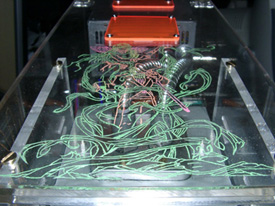
If you put a cathode light or two besides the engraving it will light up which makes it easier to see where you are engraving. Light emitting diodes also works great
but cathode lights are easier to handle.
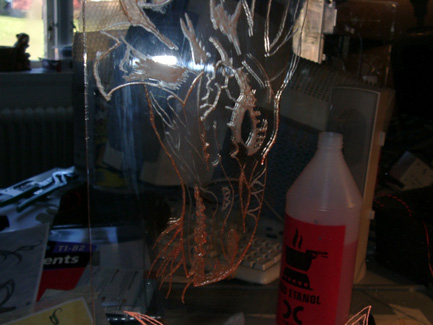
When you’re finished you clean the engraving from chips etcetera with ethanol. After doing that you can wash it with tap water and wipe it with a towel to make sure that it is completely clean.
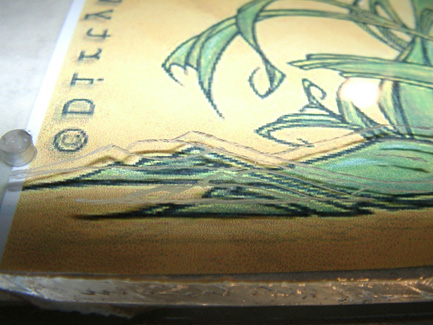
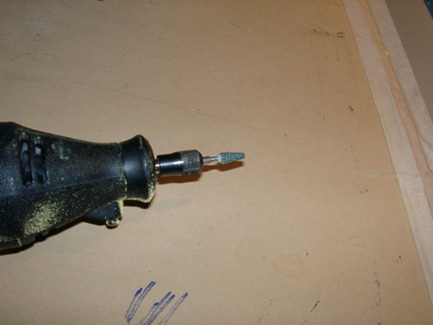
You can use the grindstones when you want to cover larger surfaces or when you want to flatten surfaces. It is easier to use at higher speeds. I usually run it at 33000 rpm.
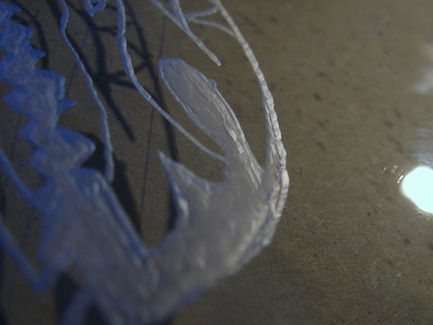
The result can be seen in the picture above. The engraving have gotten a much more even surface which can be an advantage sometimes.
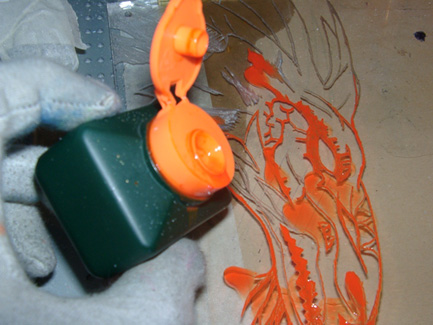
One way of putting a little more life into an etching is to color it. The drawback of etchings is that the etching itself is of a single color, which can be quite dull if one has a colorful motif or wants an etching which matches other colors in the case.
I am going to go through different techniques of
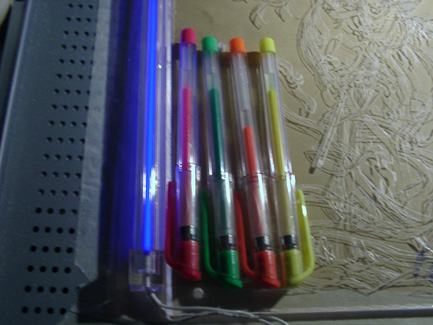
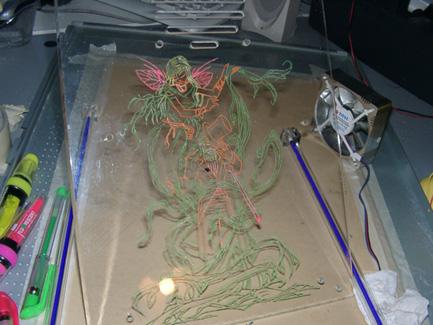
coloring an etching. I started by exchanging the two blue light
tubes for two UV tubes. That is because I intend to use
fluorescent, UV reactive, colors. The fan in the photo is so
the colors would dry faster.
The pens are pink, green, orange and yellow.
The paint is a bit like jelly. The reason I chose fluorescent paint
is that the picture sort of “lights up” by itself under a UV light.
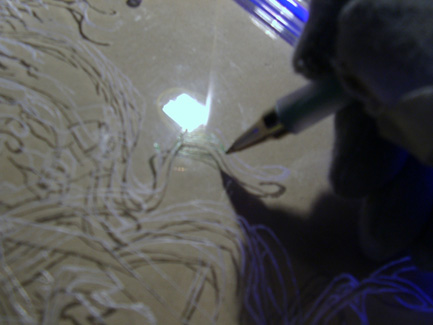
While coloring, I followed the contours of the etching.
Sometimes the paint would not stick well enough, and several layers
were required to get the desired effect.Also, the paint looks slightly
different after it’s dried, sort of a dull effect.
Having a dark room and using only the UV tubes as
lighting will make the work a bit easier. It is also easier to color
from the top left corner to the lower right (if you are right-handed).
This is so the paint doesn’t get smeared by your hand while coloring.
When you are done with the coloring it is good to let it lie for a
while before mounting it in the computer case. The paint I used took
about an hour to dry, but that might be different for other paints.
Some pens dry right away.
There are many ways of coloring an etching. Here I use paint from magic
markers and add some drops of it in the contours. I then use ethanol to make the
paint a little thinner.
The result is a weakly colored etching, which has the effect
of appearing more like tinted than colored. This might be good if one doesn’t
want such a sharp color on the etching, more of a discrete kind. Here I use hi-liter ink to fill in the contours. Then you apply ethanol as a thinner to dilute the ink. You can also use regular permanent markers and ethanol, depending on whether you want a flourescent color.
Refills for fluorescent markers can be found in most book shops and stationer’s.
Making an etching is not difficult, but demanding work. Depending on the size and details of the motif, an etching could take several hours to make. One thing to keep in mind is to take a break every now and then. The neck and wrist are quite strained while etching. I have tried the best I can to describe step by step how an etching is made. A tip is to buy cheap Plexiglas from your local hardware store and practice different techniques. Real Plexiglas is pretty expensive and not something you’d want to learn how to etch on, unless you have a good budget.
The most important thing to remember is to take it easy and use good light sources. After a while it becomes a lot easier to make large and complicated etchings.
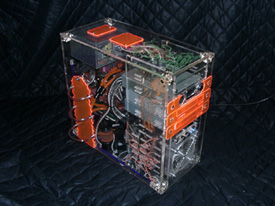
The computer that the etchings were made for is a Plexiglas case which has been modified by myself. When I bought it I had never etched in Plexiglas before and I realized quickly that some etchings would liven the case up quite nicely. The method I used was to try my way along. After a while I started to get a grip of etchings and realized how good it could look.
The computer has now gone through a total of 5 different etchings in all sizes, everything from small Japanese signs to large, advanced etchings. You can view the computer in NordicHardware’s gallery, which can be found here.


