


RX 9070 XT totalkrossar RTX 5070/5080 hos MindFactory
Views: 3611


 Sponsrat av WebhallenMånga av oss sitter kvar med en trogen dator vi använder dagligen. Kanske är det en äldre PC som börjar kännas långsam eller en Mac som inte riktigt känns lika rapp längre. Om du funderar på att uppgradera kan du nu göra det på ett både enkelt och fördelaktigt sätt – med hjälp av Webhallens inbytestjänst Revive.
Det betyder att du kan låta din gamla trotjänare bidra till din datorupplevelse 2.0, istället för att den fortsätter samla damm när den pensioneras. Smidigt och hållbart på samma gång!
Webhallen Revive gör det möjligt att byta in din nuvarande mobil, iPad, PC eller MacBook och använda värdet för att sänka kostnaden på din nya MacBook. Så här går det till:
Om du till exempel har en äldre PC eller en Intel-baserad MacBook från 2020 kommer du att märka en stor skillnad när du uppgraderar till en modern dator. För Mac-användare som byter från en äldre Intel-baserad MacBook (2020 och tidigare) till en M3-baserad Mac får du ännu större förbättringar, här är några av dem:
Slutsats: Webhallen Revive är ett kostnadseffektivt och hållbart sätt att ta steget från en dator du använder idag till en som tar din användarupplevelse till nästa nivå – samtidigt som du får ut värdet av det du redan har. Låt din nuvarande dator hjälpa dig att finansiera en ny.
 Sponsrat av Webhallen


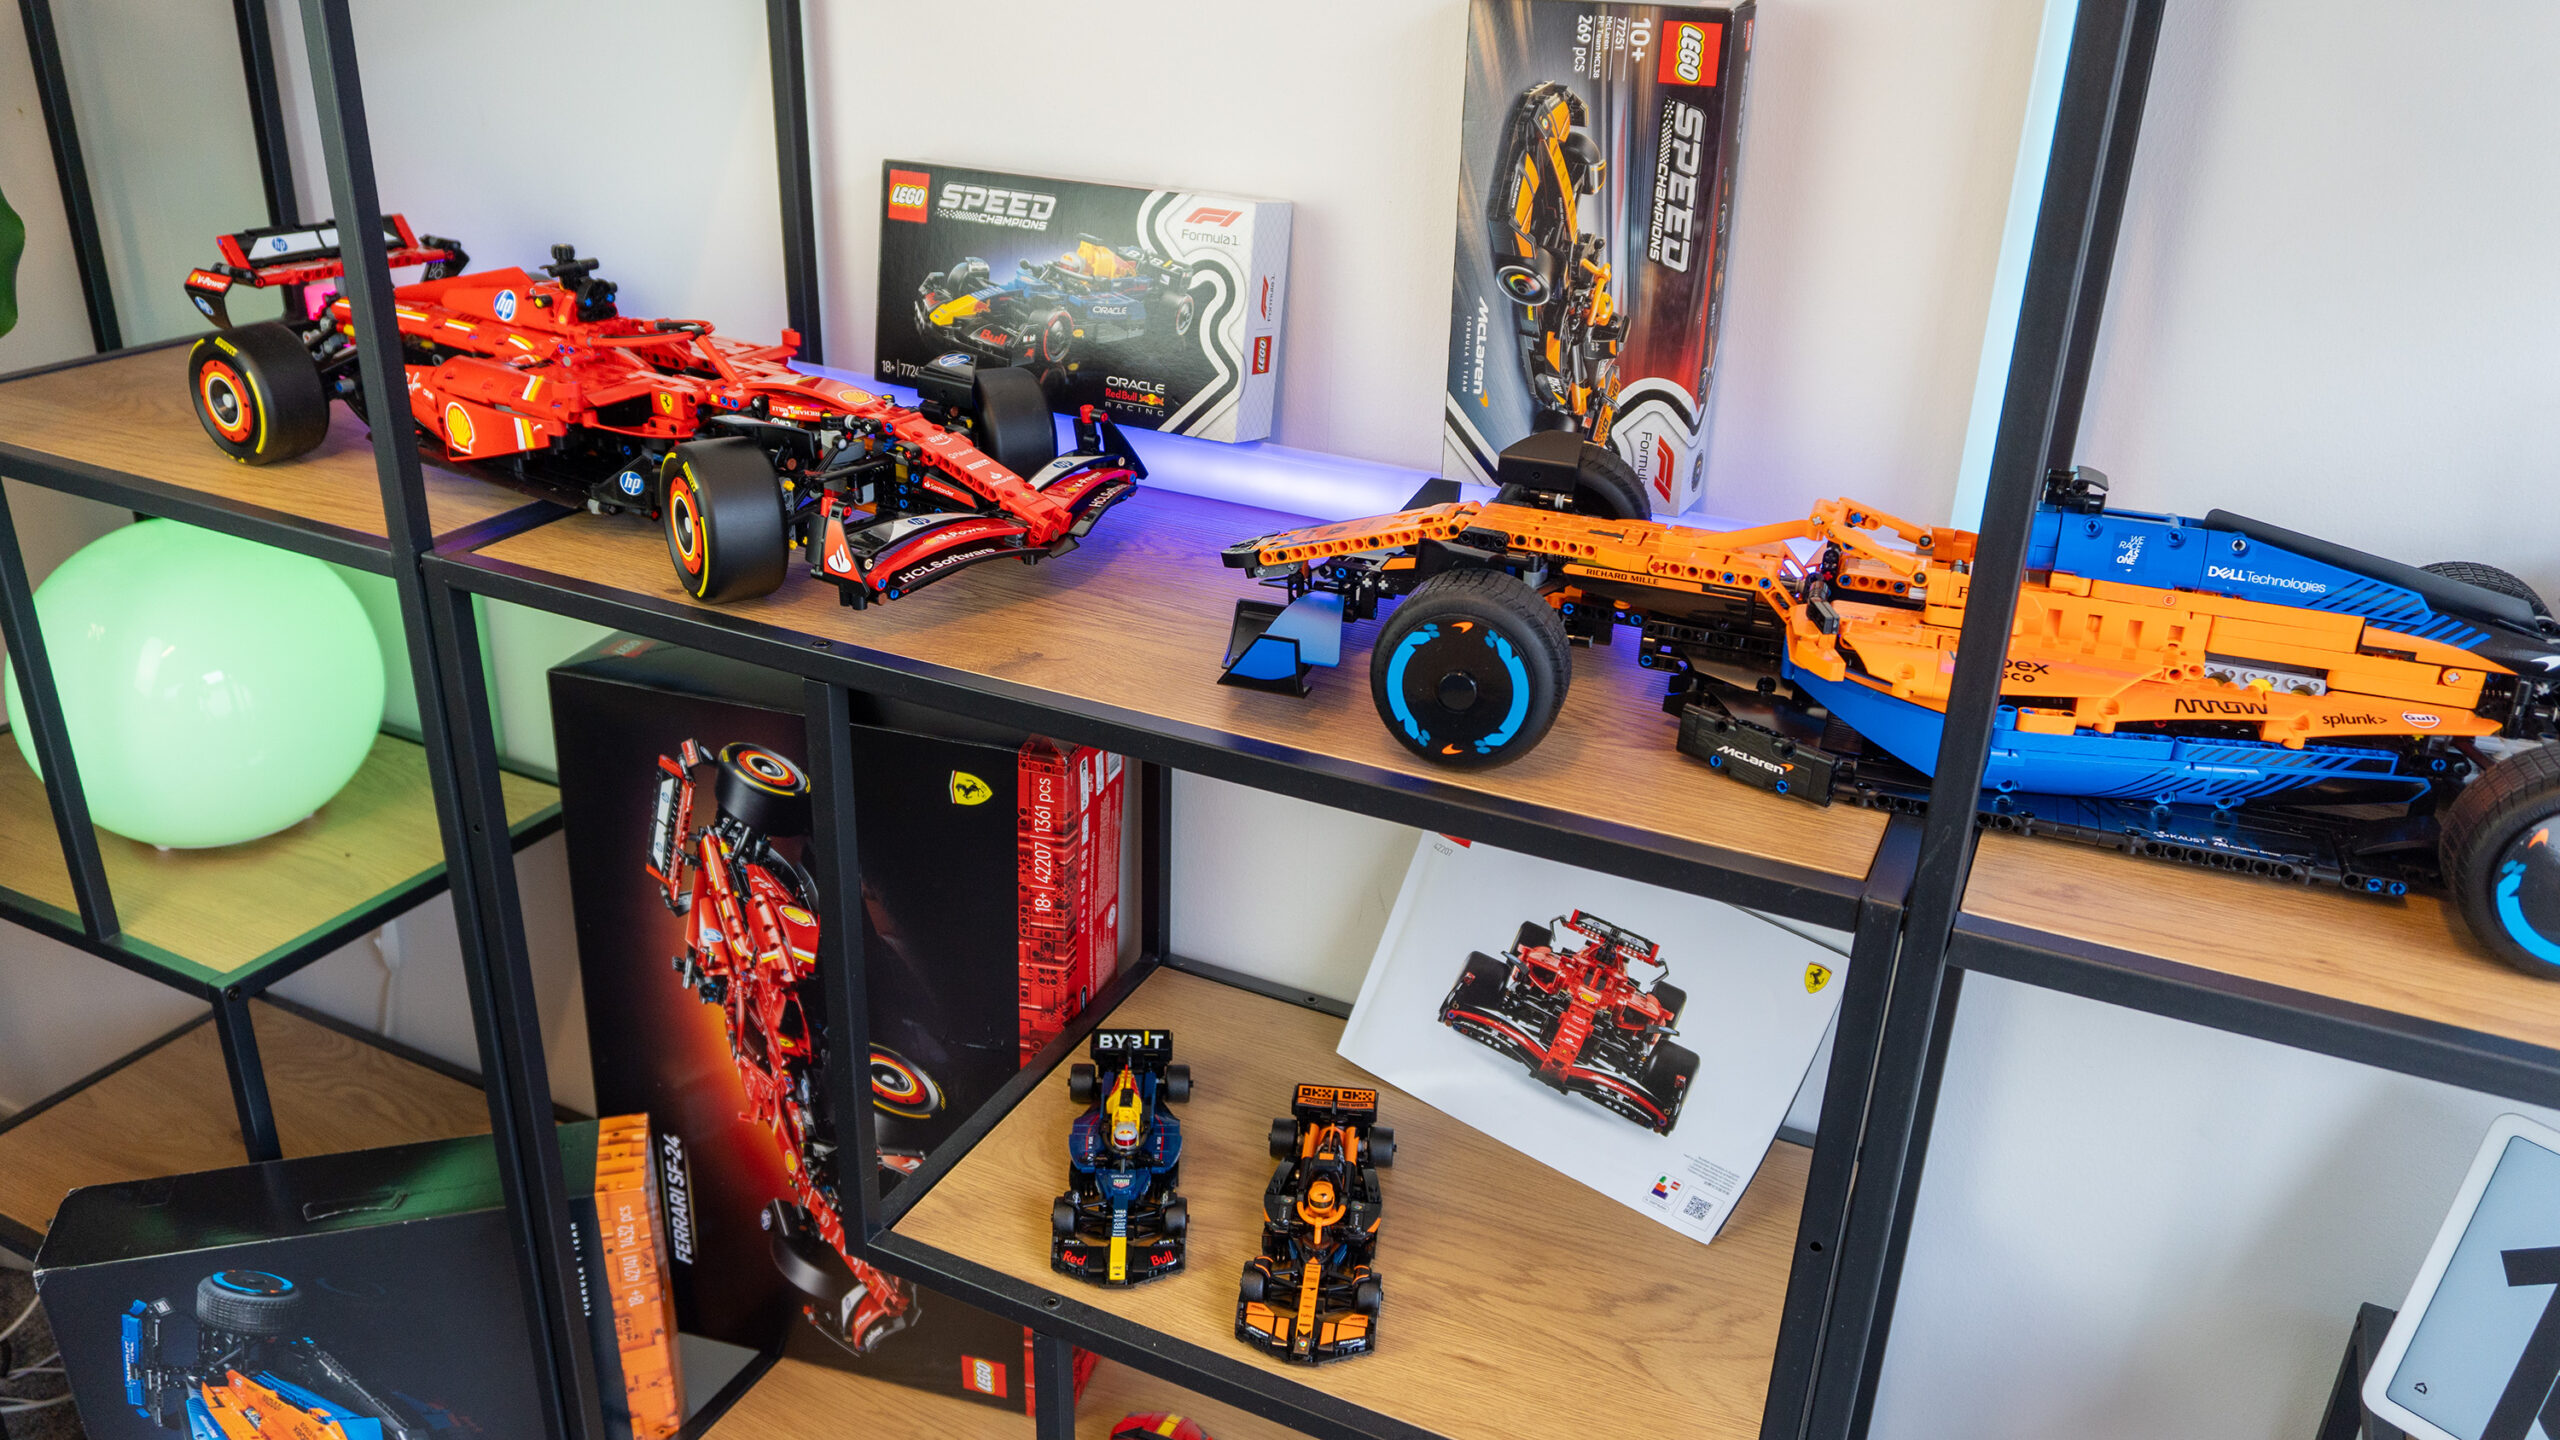
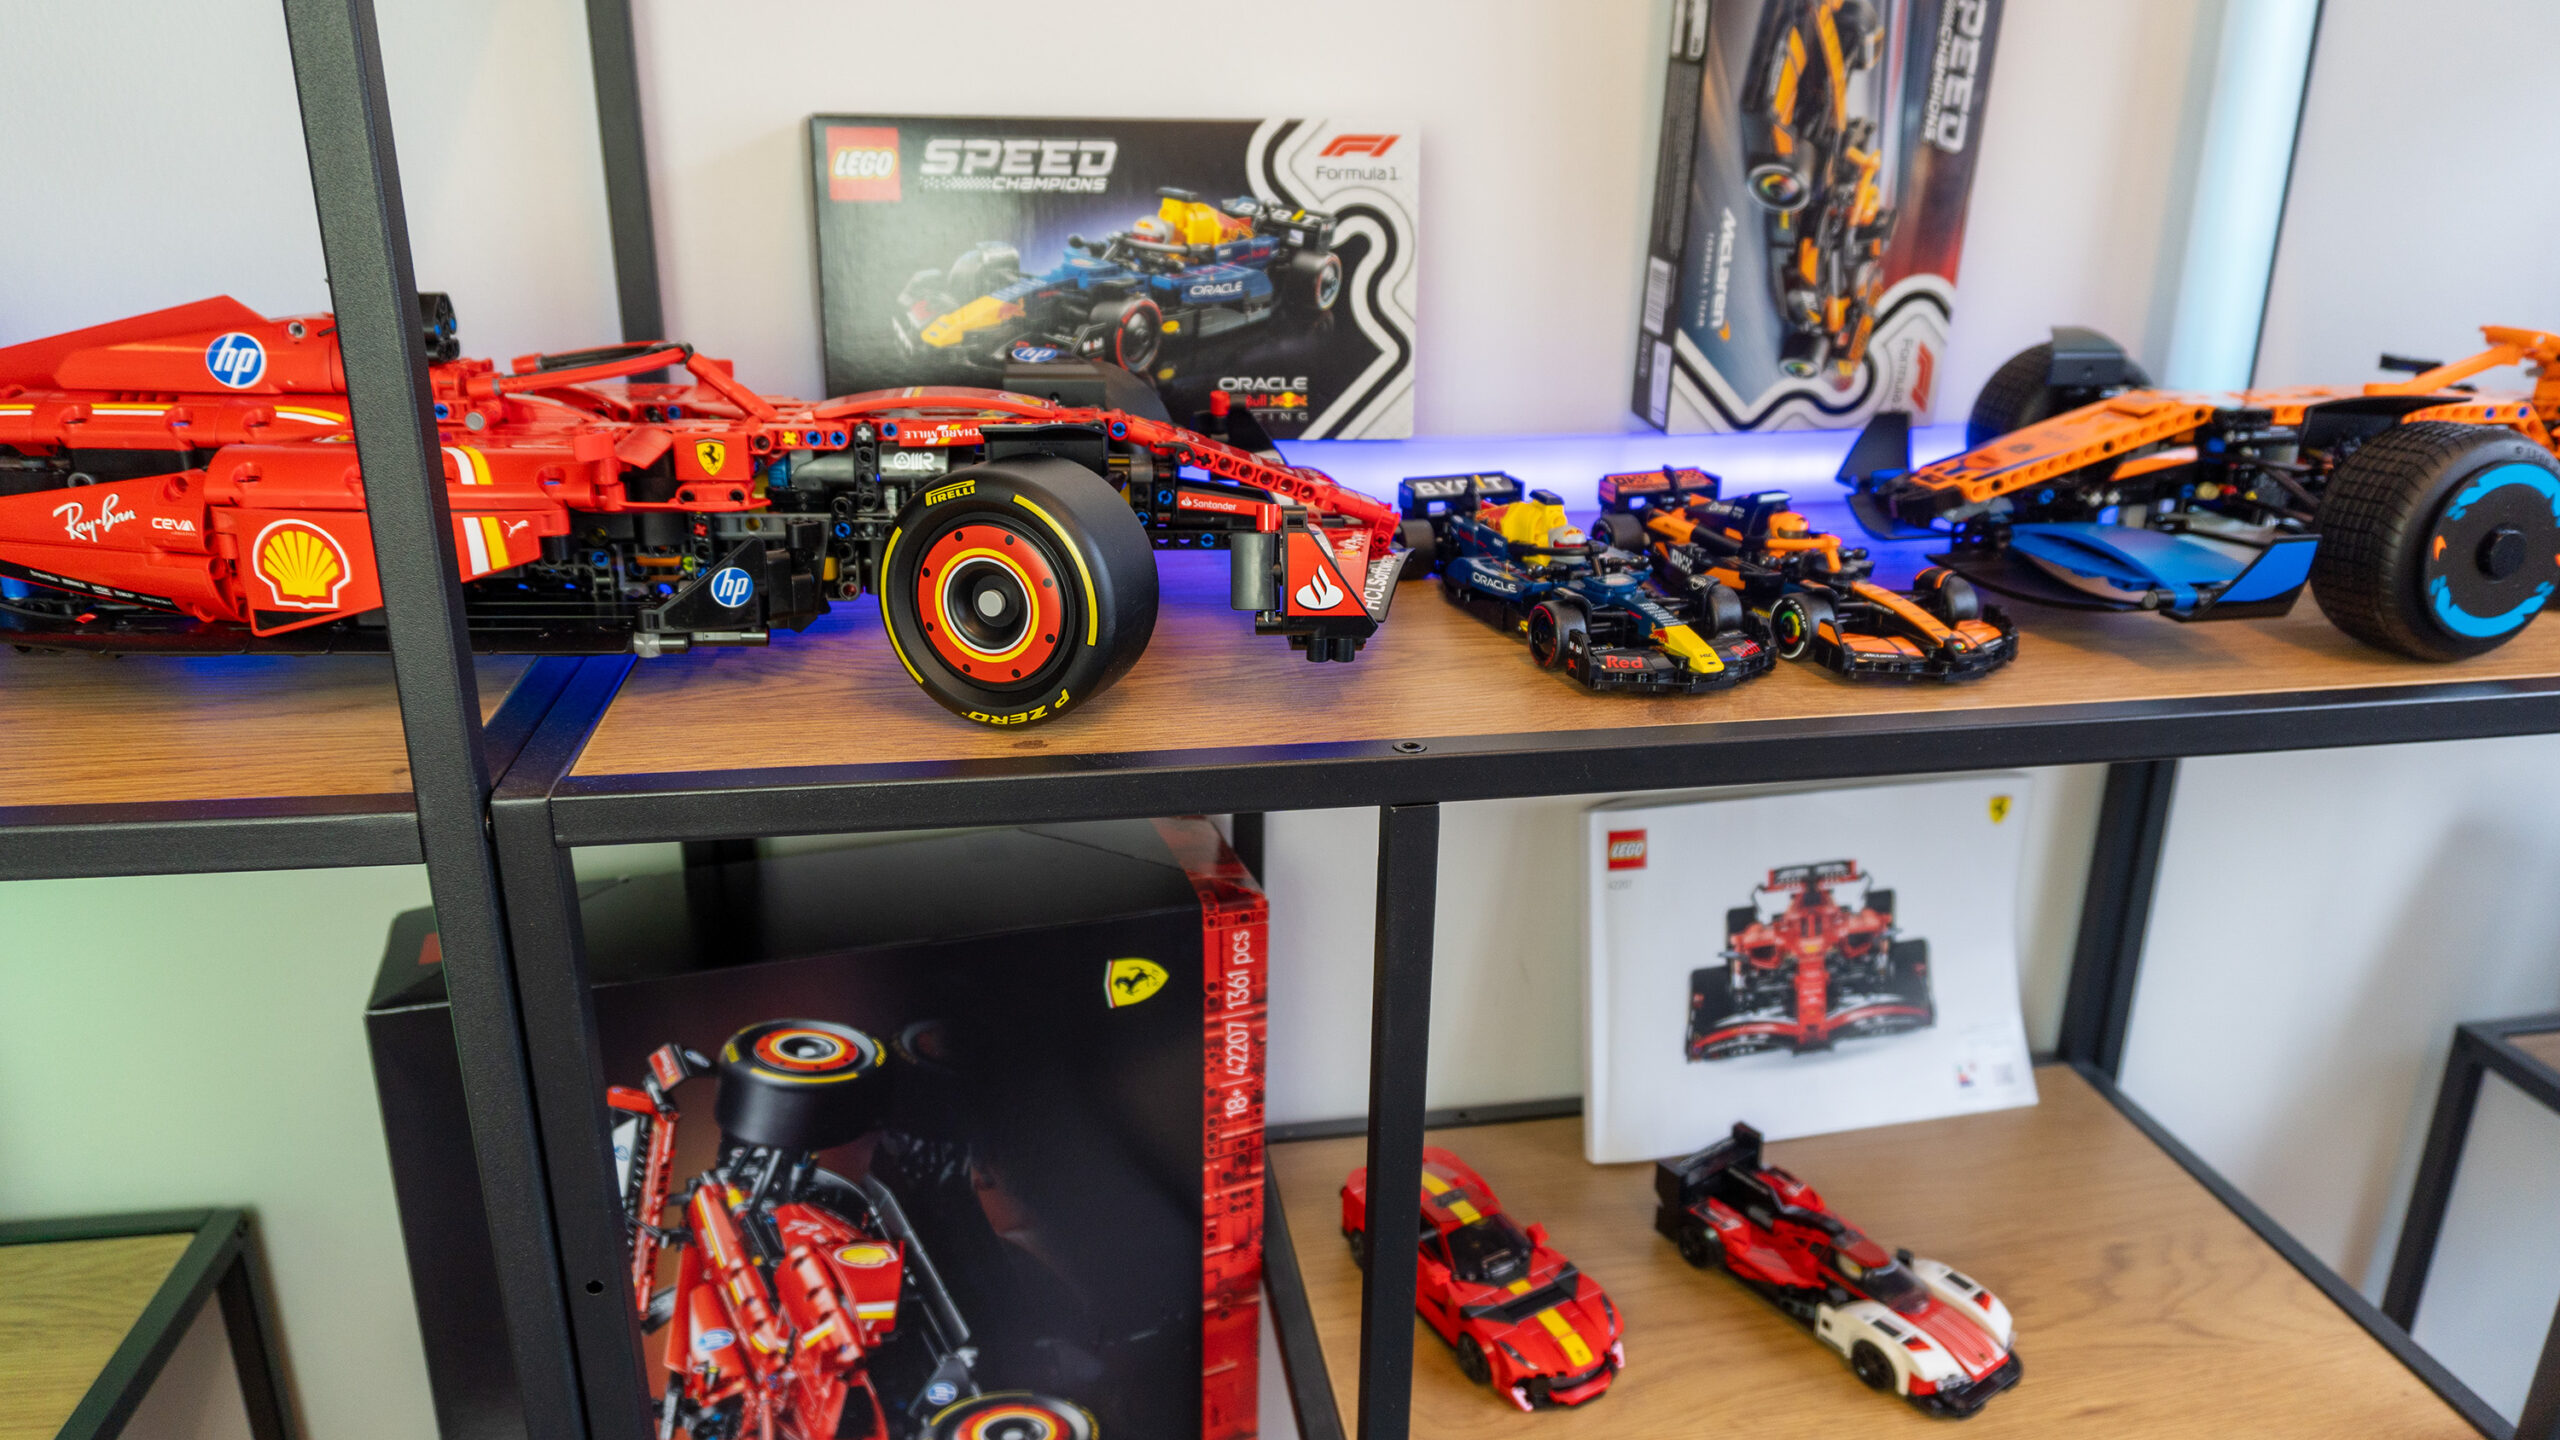
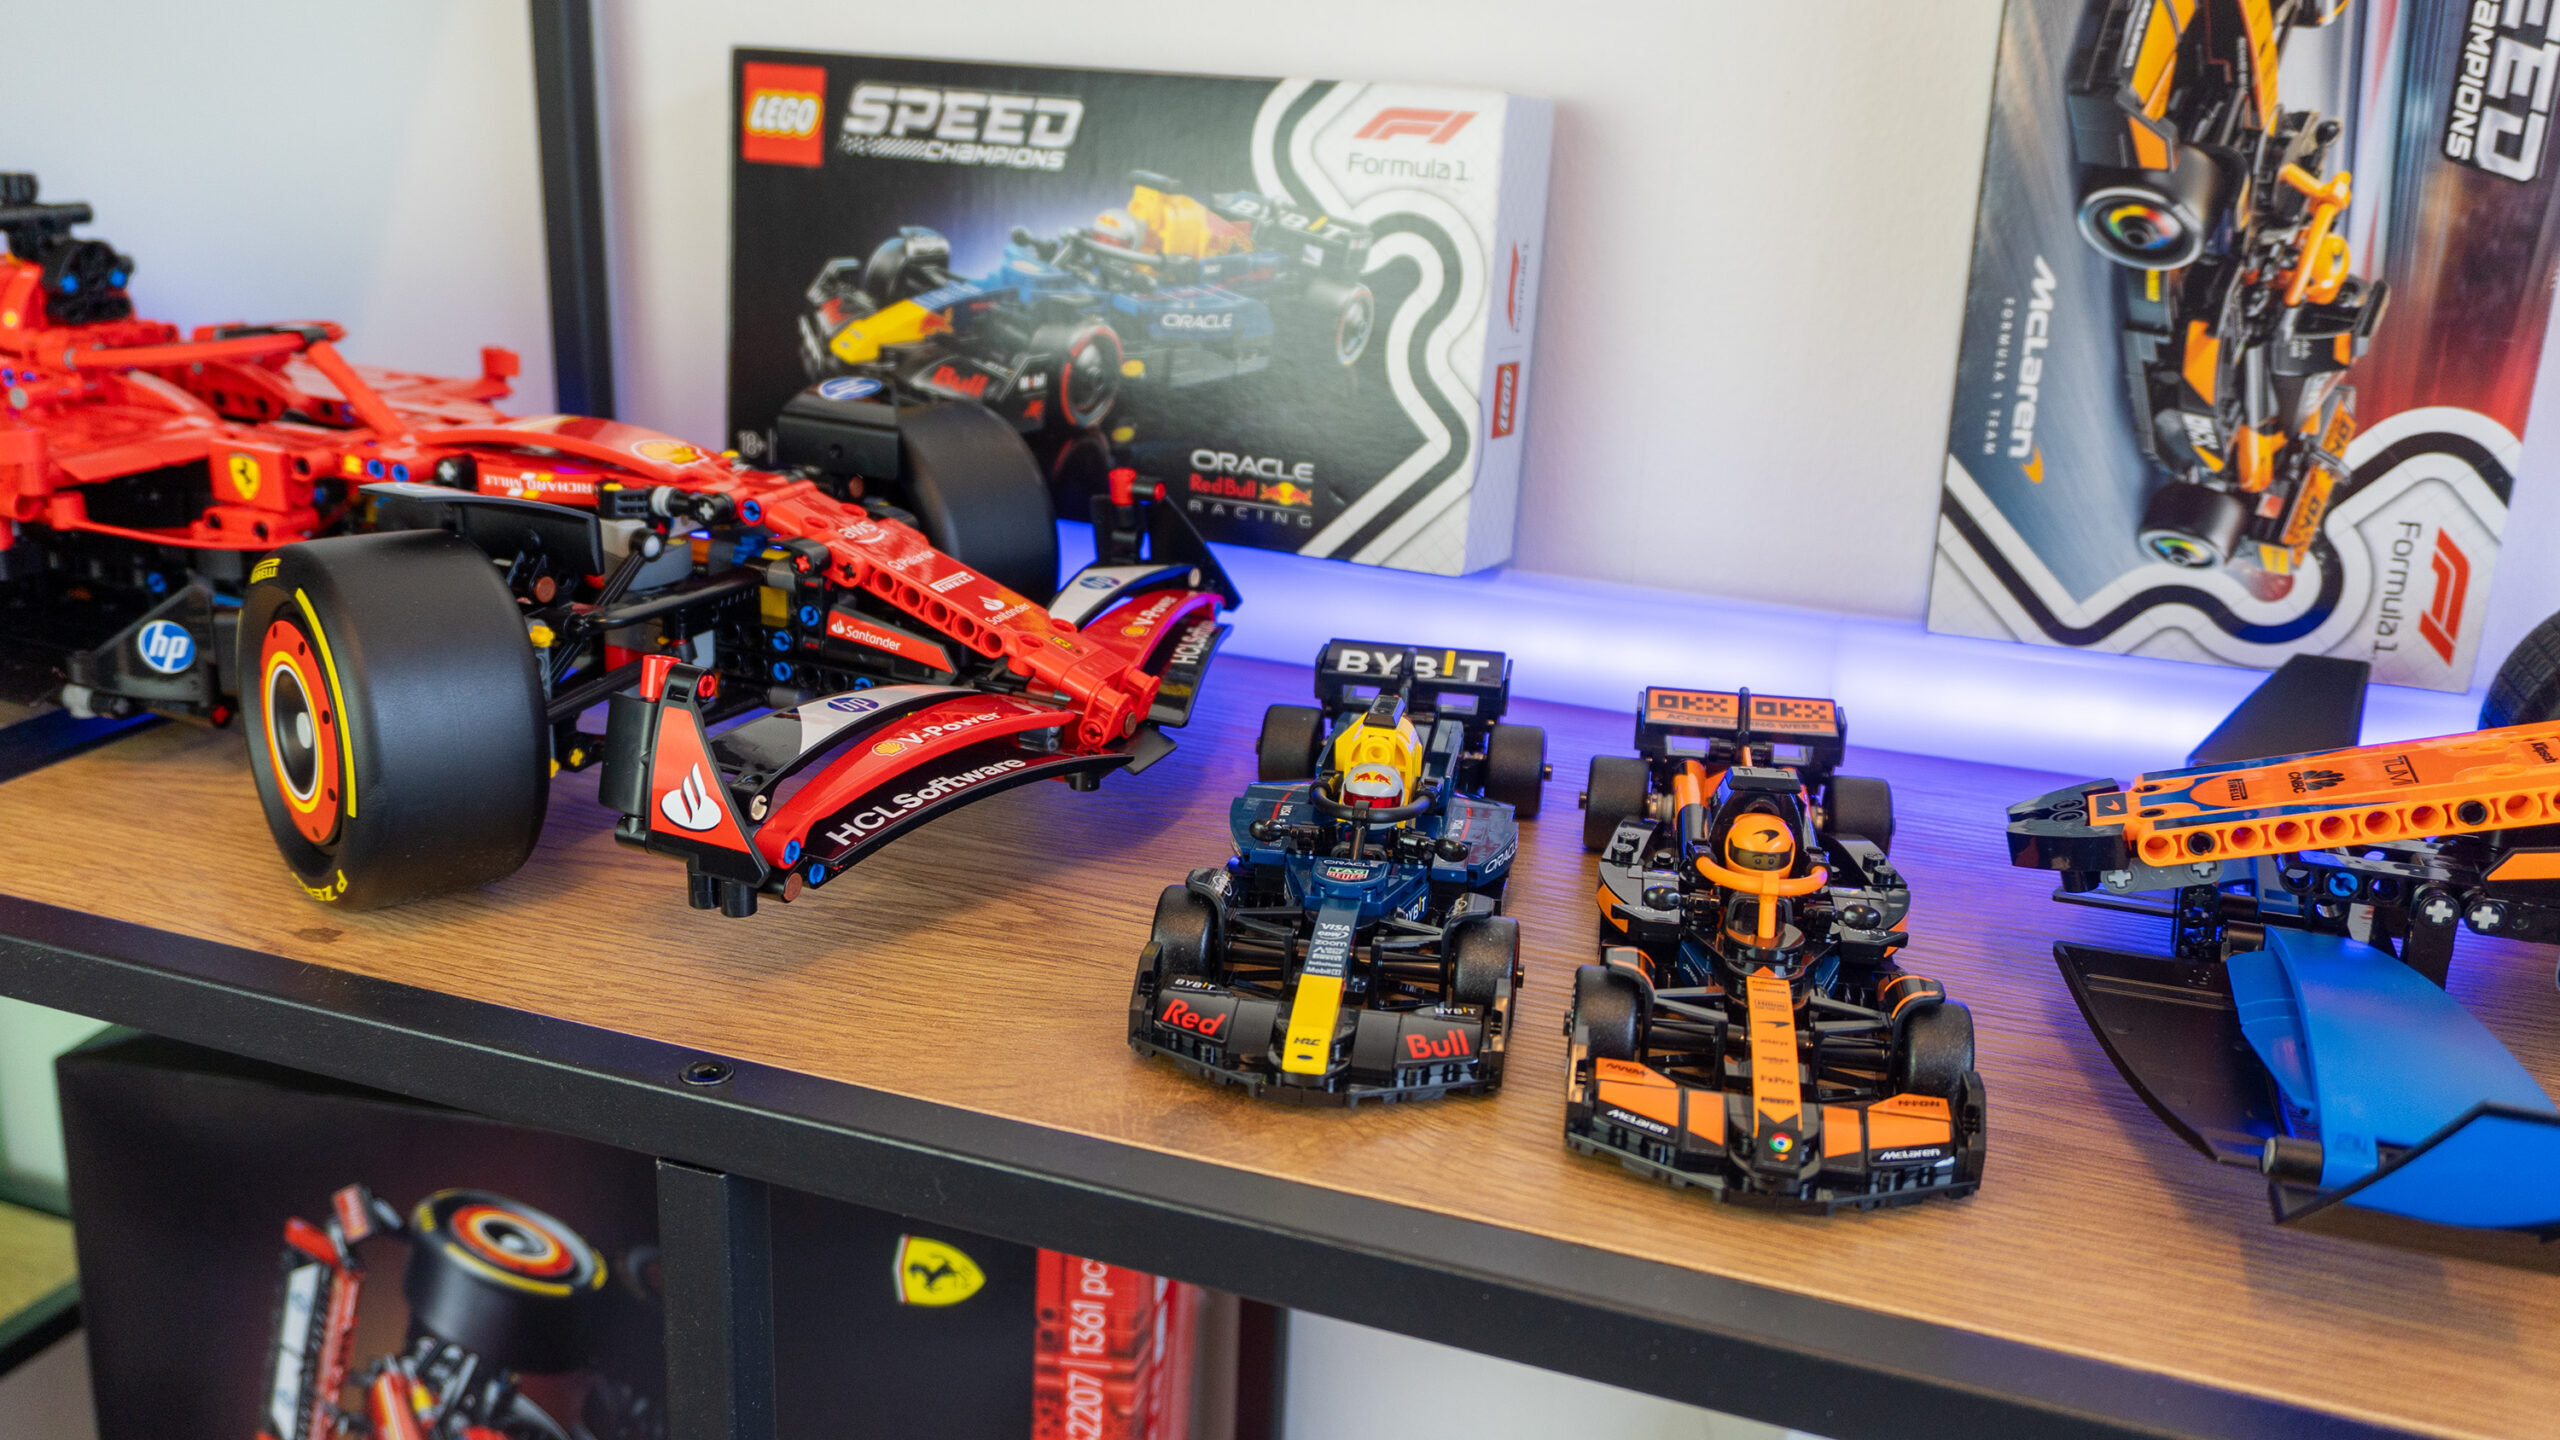
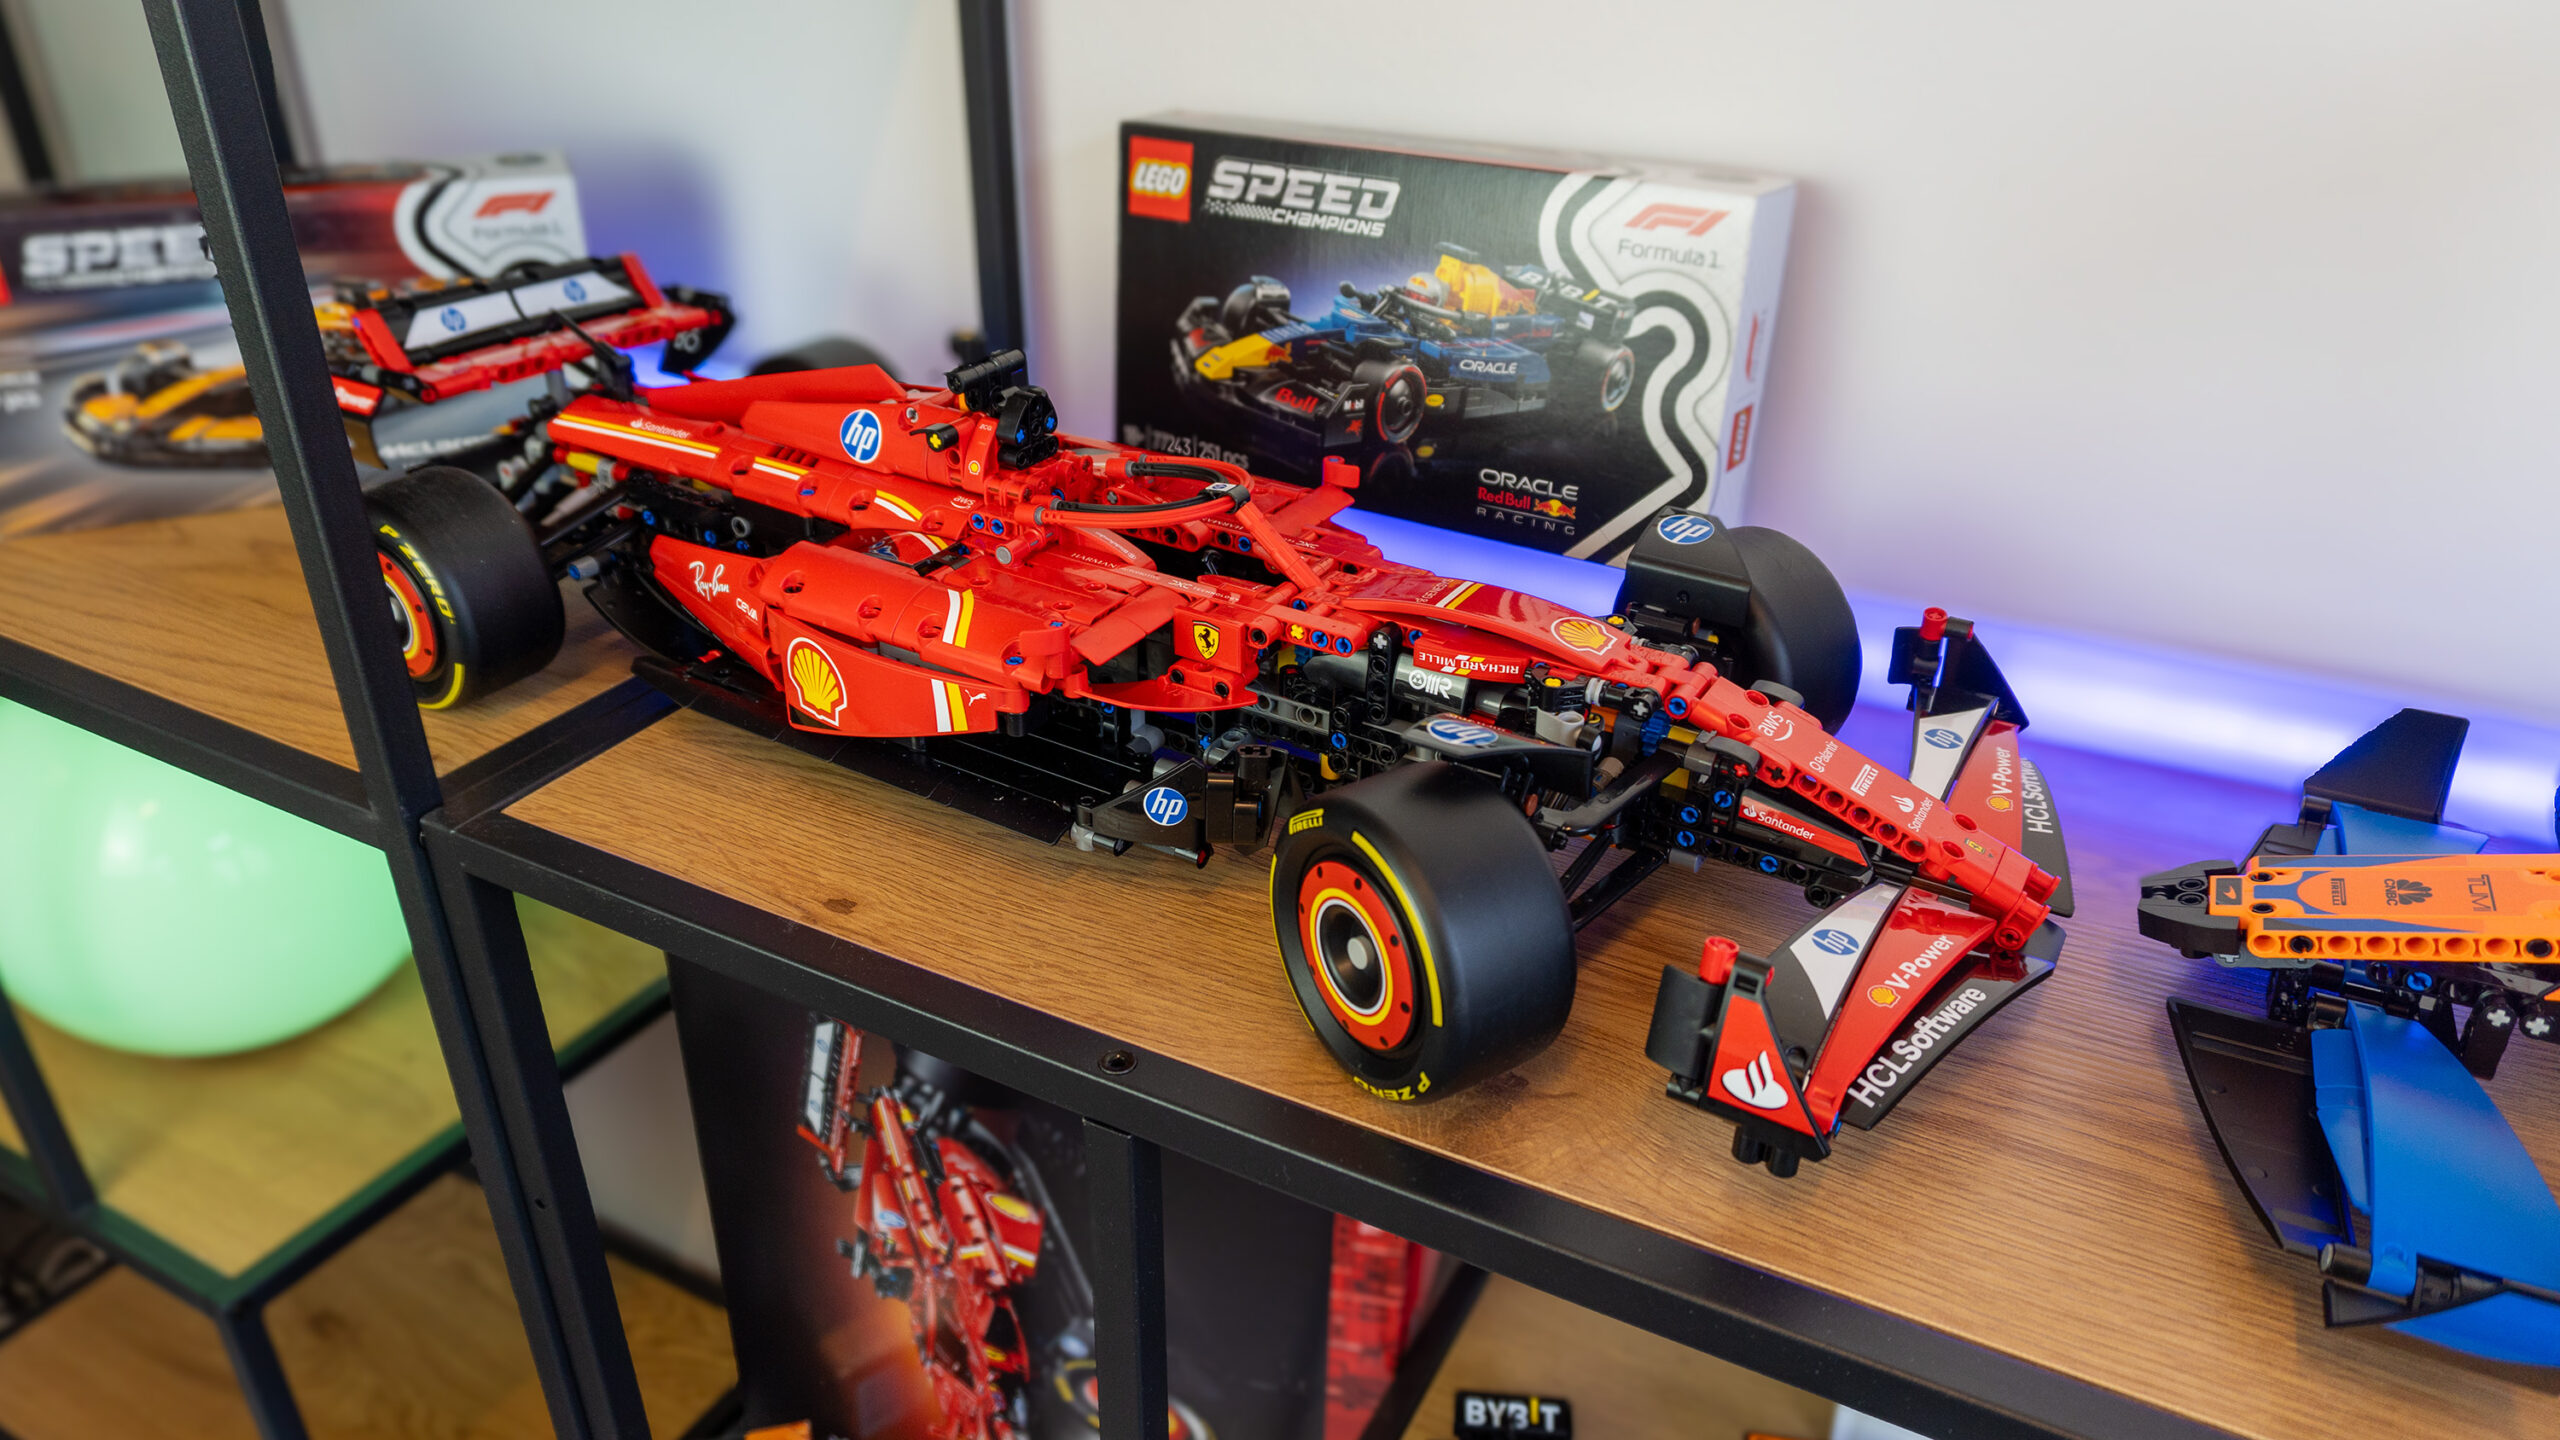
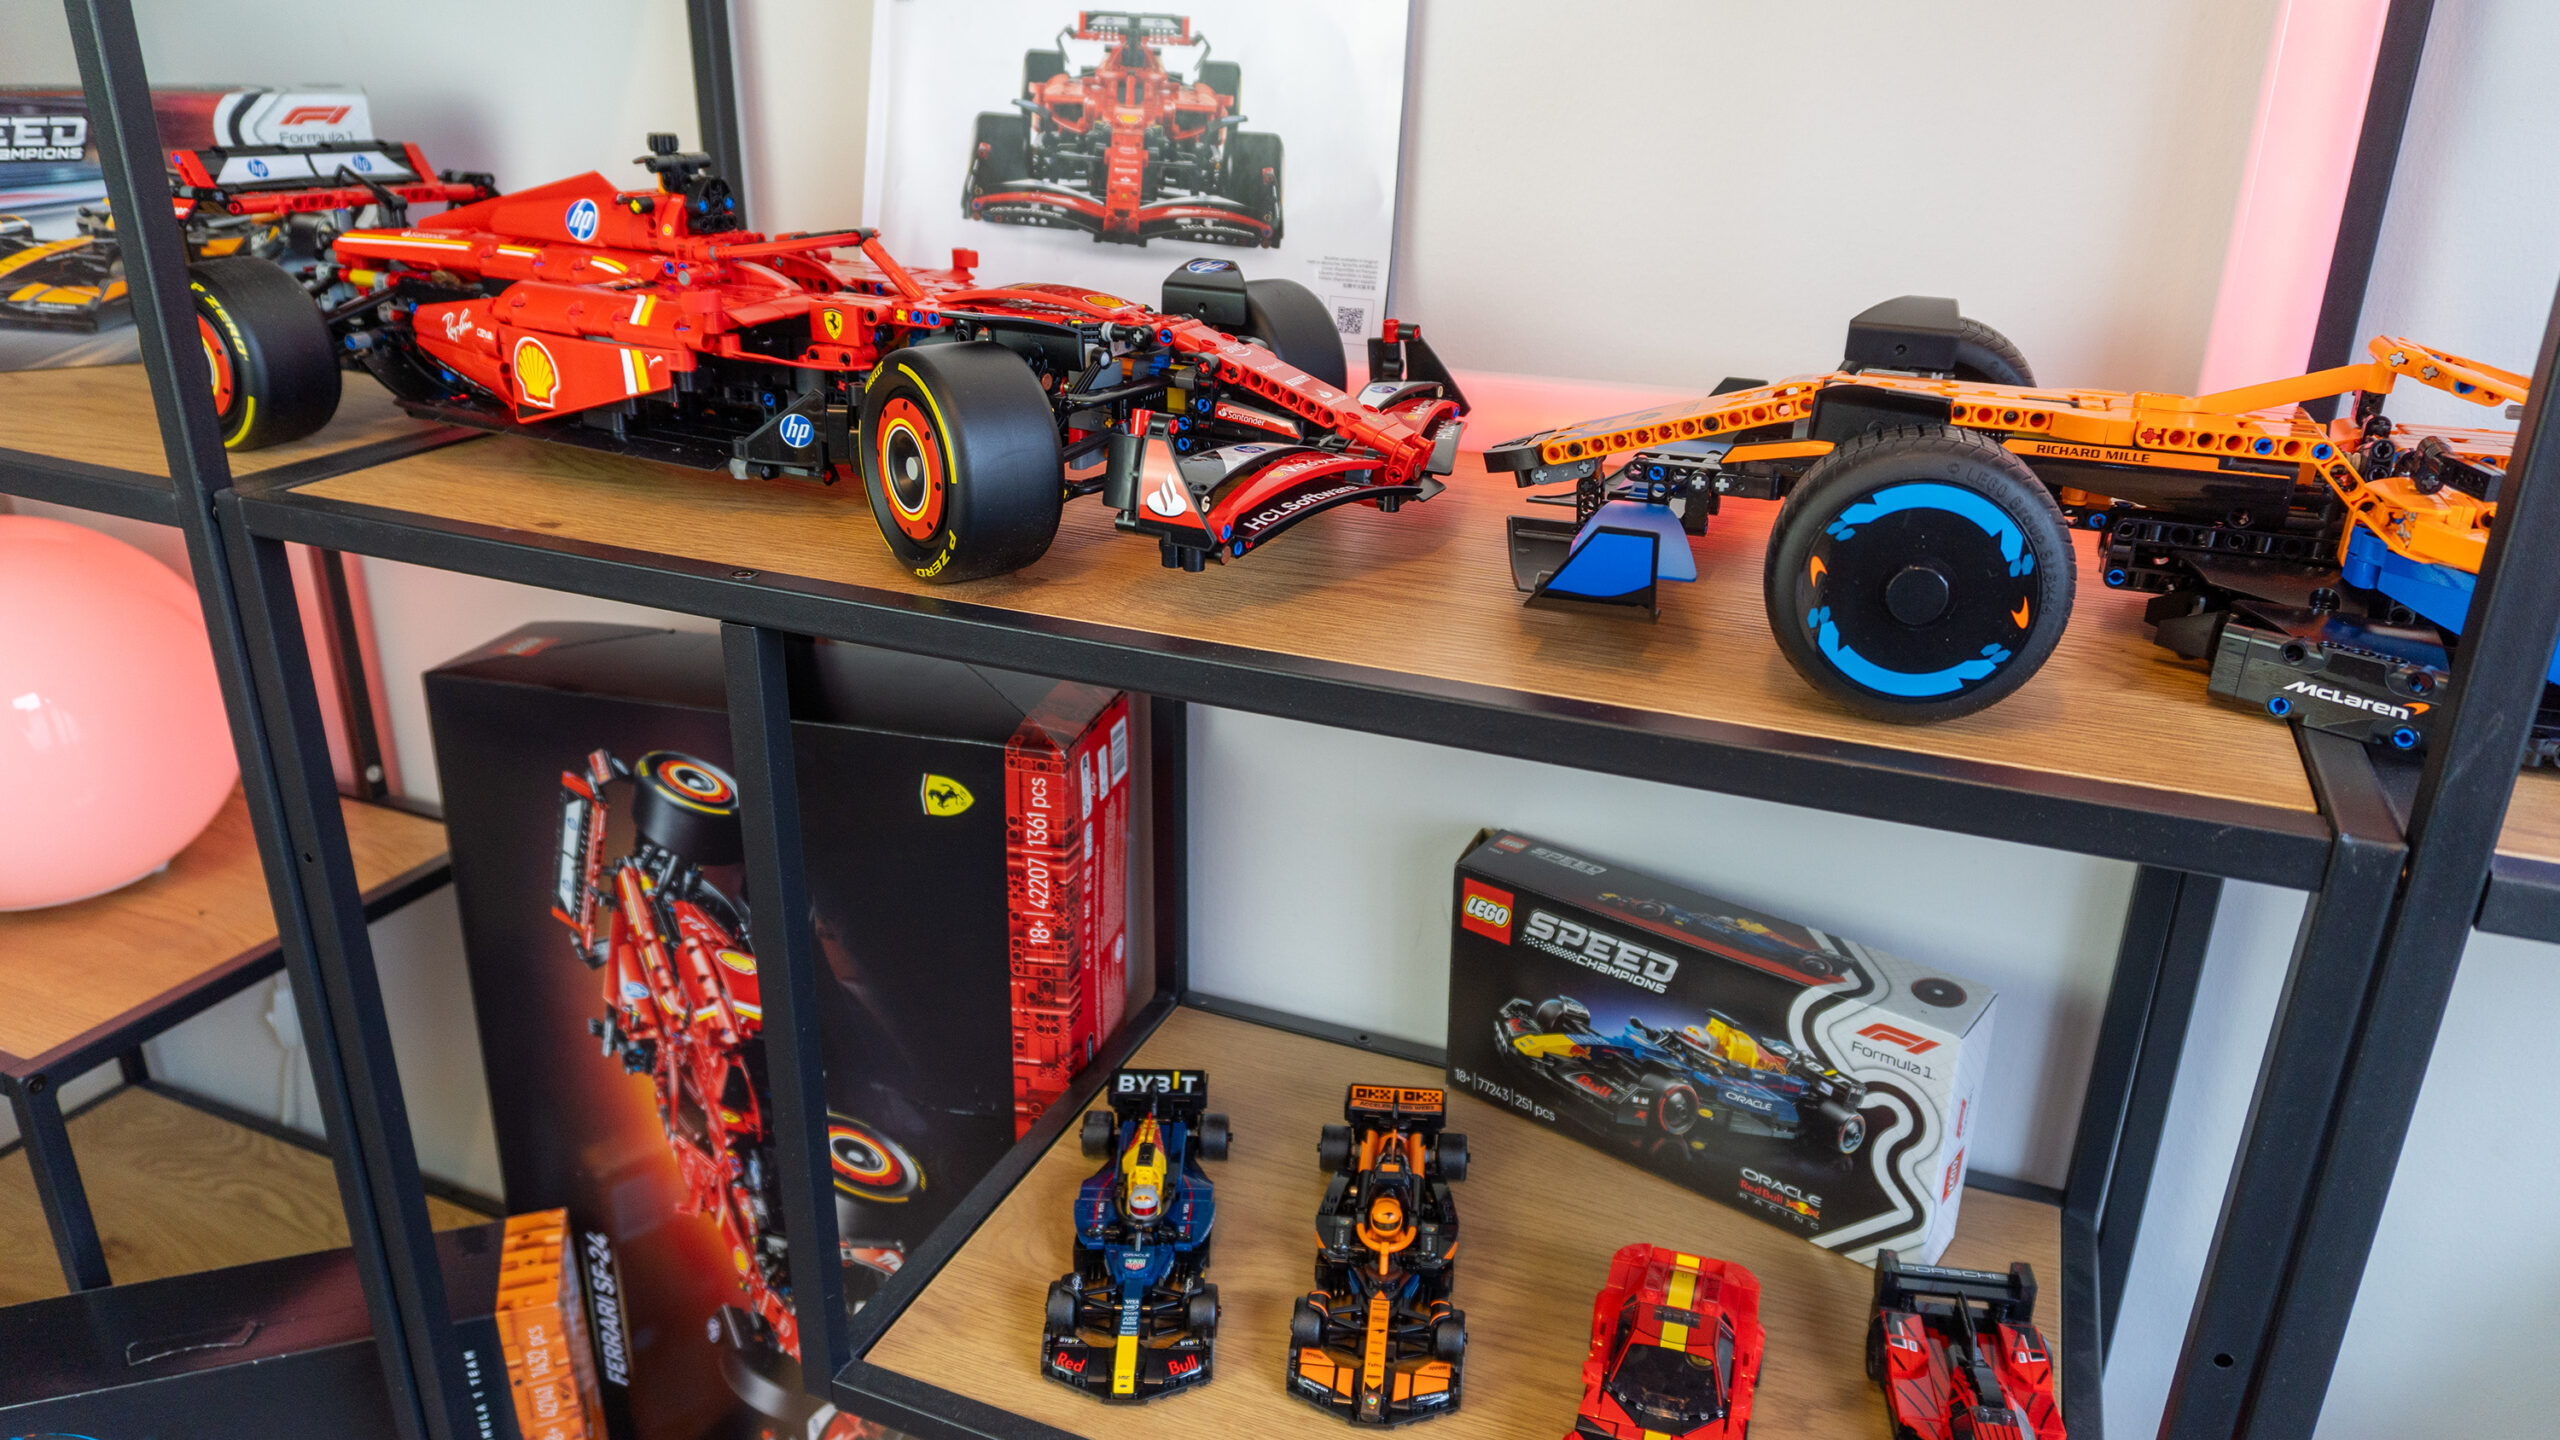
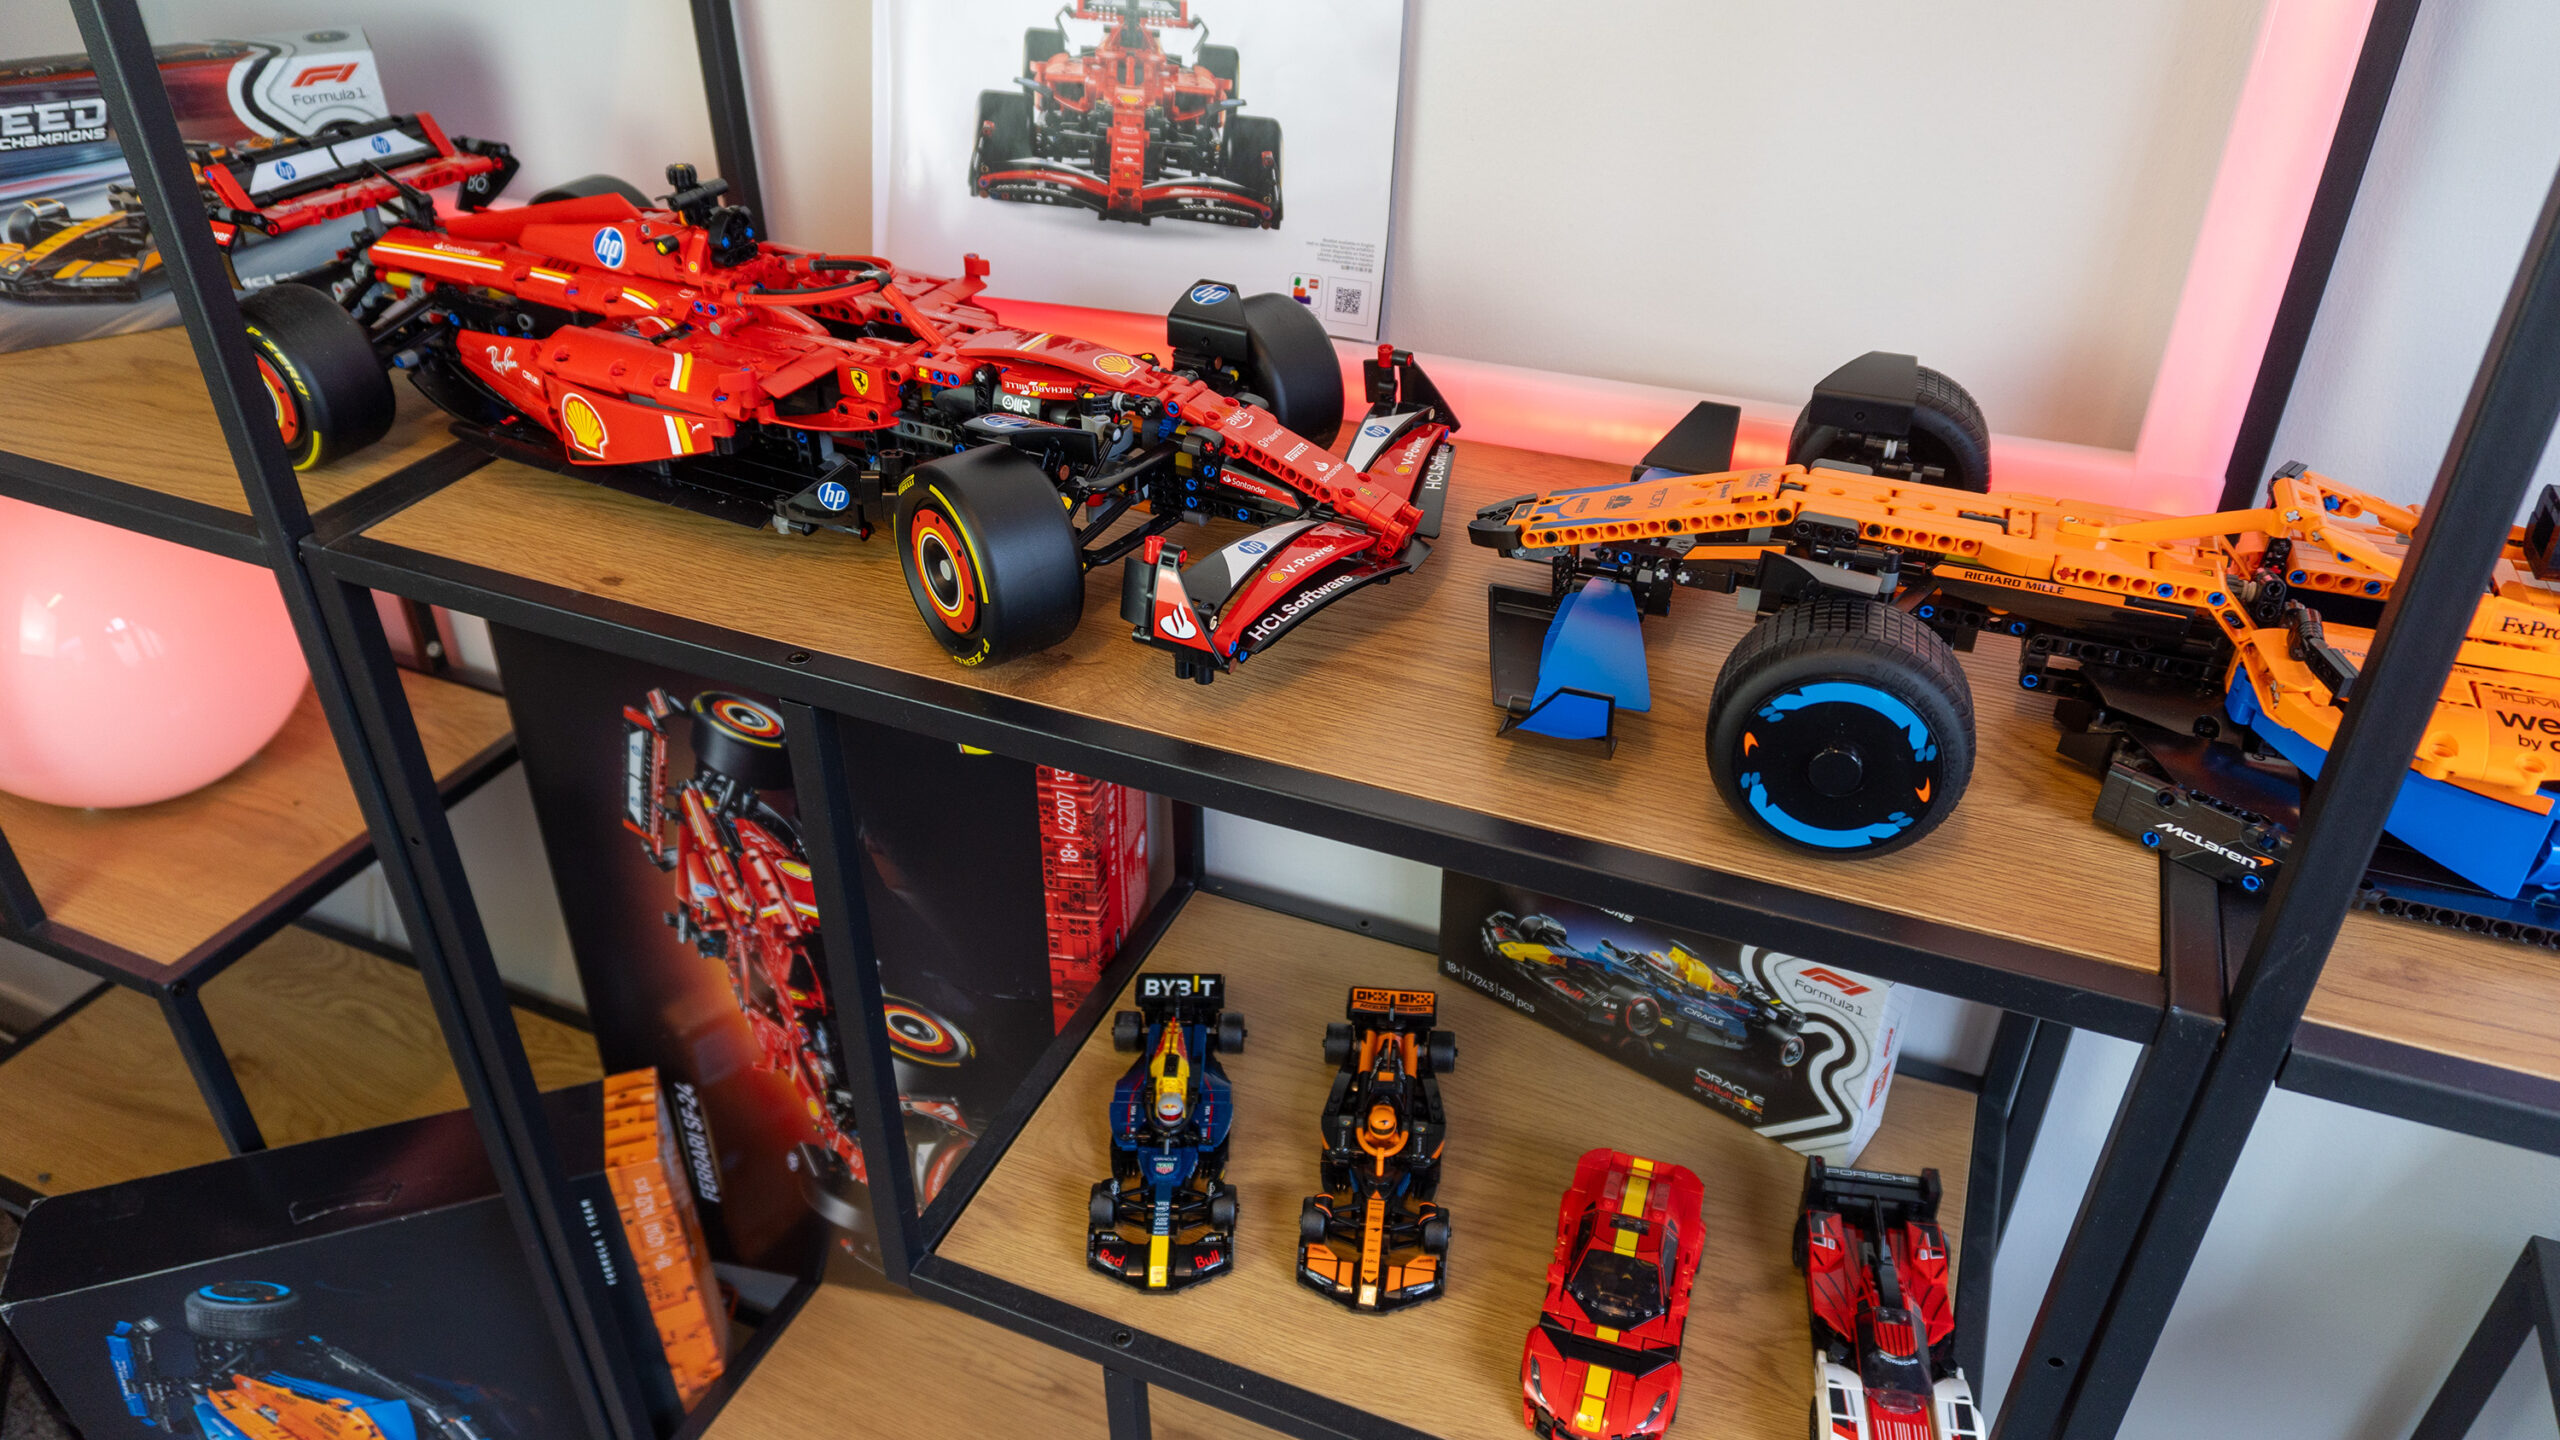
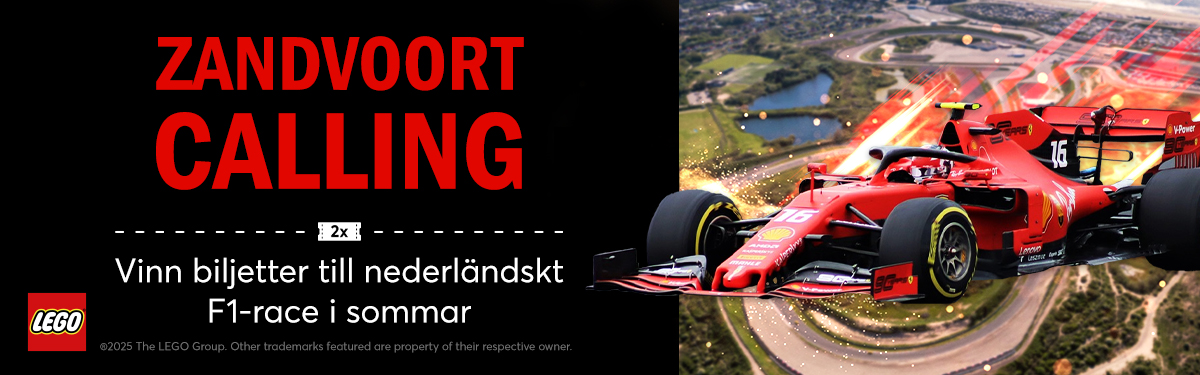 Sponsrat av WebhallenSugen på en fartfylld LEGO-sommar? Vi på Webhallen är sannerligen taggade med alla nya häftiga LEGO F1-modeller i butiken. Just nu har du dessutom chansen att vinna 2 st biljetter till ett tvättäkta F1-lopp – Formula 1 Heineken Dutch Grand Prix 2025 på Zandvoort Circuit!
Vi har redan tagit en för laget och byggt ett par av de nya LEGO F1-modellerna och kan glatt rapportera att varje modell bjuder på sin egen charm med tydliga skillnader i design och funktion.
I vanlig ordning ger Speed Champions-modellerna väldigt mycket upplevelse för pengarna, medan de större Technic-modellerna blir ett härligt kvällsprojekt för hela veckan. Här hittar vi också vår favorit hittills, den stora Ferrari SF-24 som sticker ut extra snyggt med sin klarröda lack!
Det roliga är att det inte spelar någon roll om du är en rutinerad samlare eller helt enkelt vill ha ett kul sommarprojekt – de här LEGO-modellerna är perfekta för alla racingfans därute! Köper du en F1-modell från Webhallen i vår har du också chans att få uppleva Formel 1 på riktigt i sommar.
Sponsrat av Webhallen